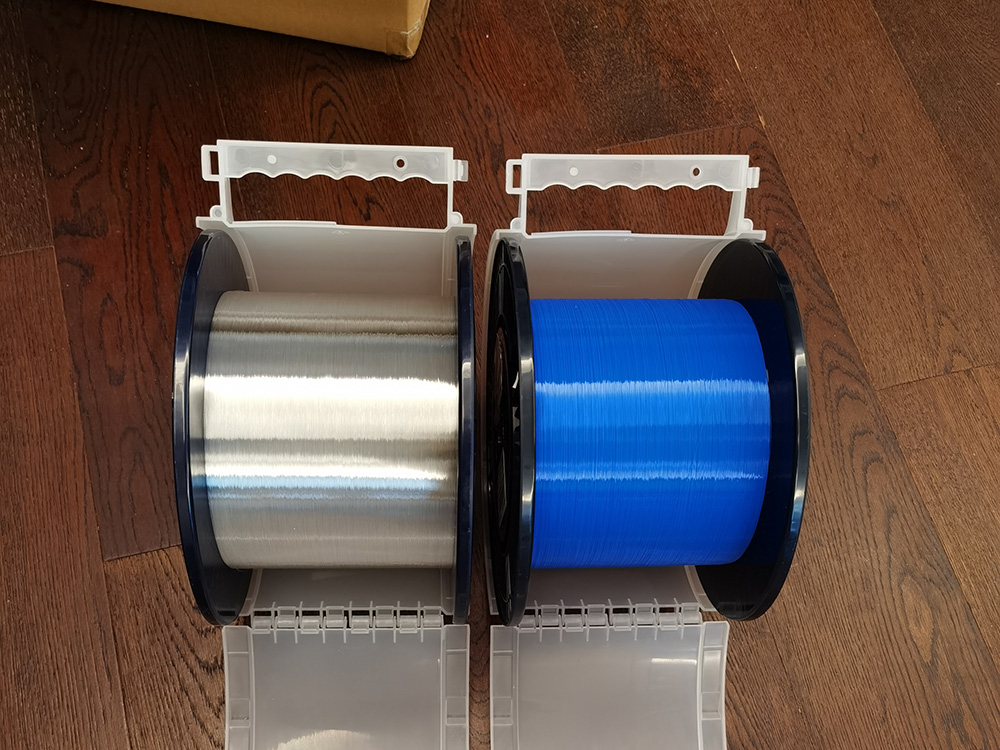
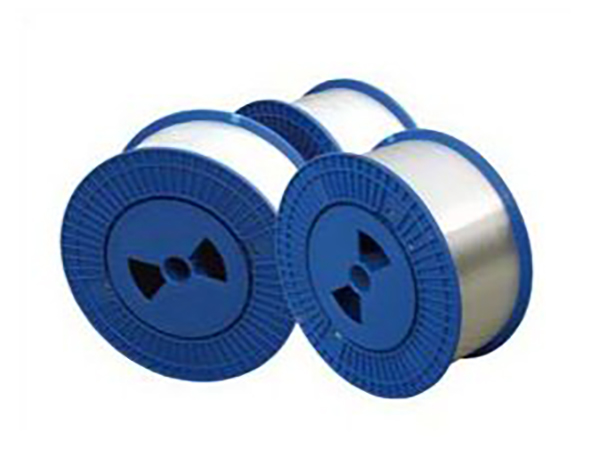
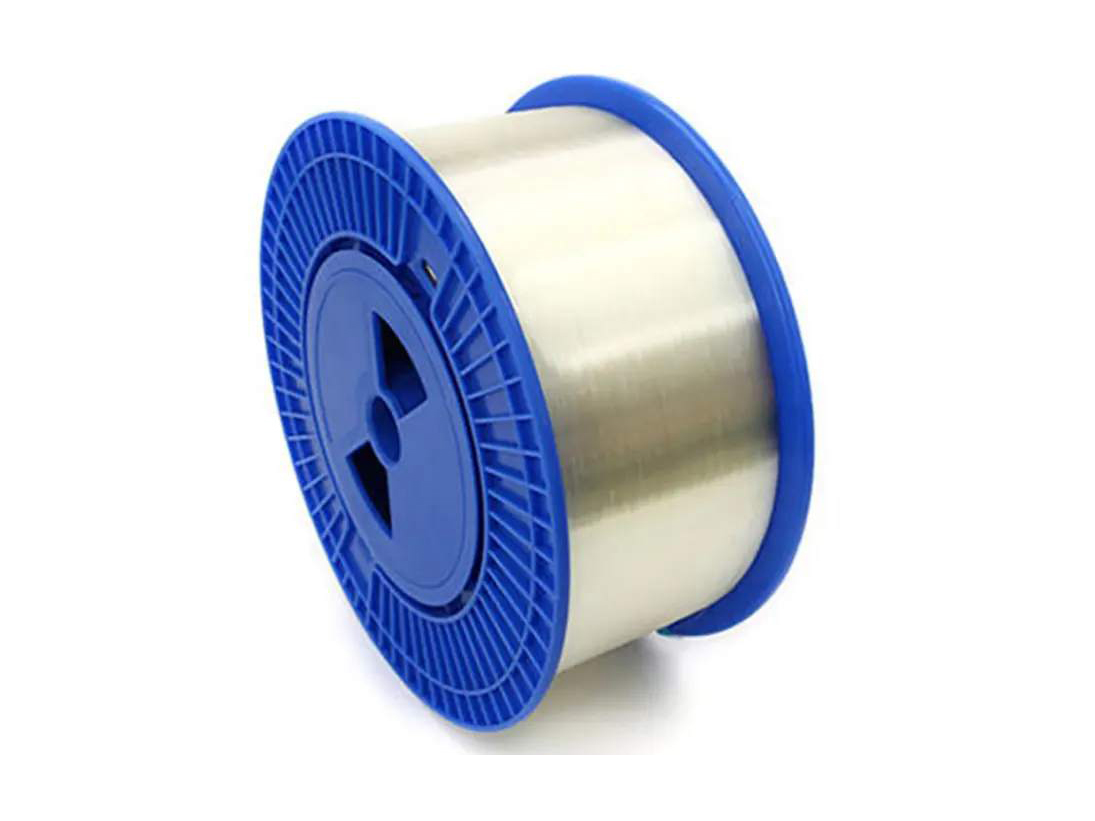
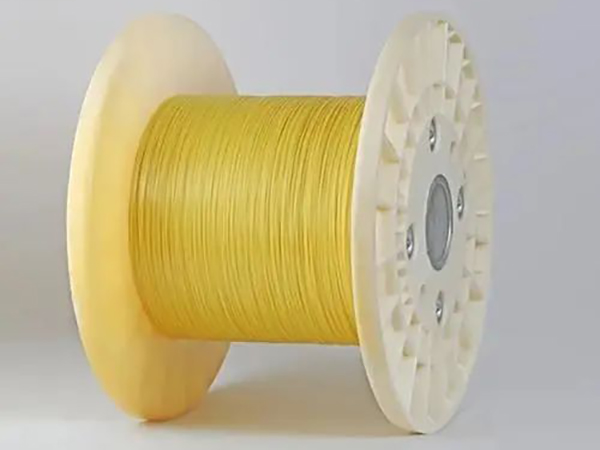
KFRP with 0.58mm Dia.
Inspection Status List
S/N |
Testing item |
Conclusion |
1 |
Appearance |
Qualified |
2 |
Color |
Qualified |
3 |
Coating diameter deviation |
Qualified |
4 |
Coating non-circularity |
Qualified |
5 |
Tensile strength |
Qualified |
6 |
Tensile modulus of elasticity |
Qualified |
7 |
Minimum bending performance |
Qualified |
8 |
High temperature bending performance |
Qualified |
9 |
Low temperature bending performance |
Qualified |
Test result
S/N |
Testing item |
Unit |
Standards and Requirements |
Test result |
Conclusion |
||||||
1 |
Appearance |
-- |
The body and coating surface should be smooth and uniform, without impurities or cracks |
The body and coating surface should be smooth and uniform, without impurities or cracks |
Qualified |
||||||
2 |
Color |
-- |
The color of the body and coating should be the natural color of the material |
The color of the body and coating should be the natural color of the material |
Qualified |
||||||
|
1) Testing method According to: YD/T 1181.3-2011 5.2 | |||||||||||
|
2) date, environmental conditions, location
| |||||||||||
|
3) Testing equipment
| |||||||||||
Test result
S/N |
Testing item |
Unit |
Standards and Requirements |
Test result |
Conclusion |
||||||
3 |
Coating diameter deviation |
mm |
±0.05 |
-0.02 |
Qualified |
||||||
|
1) Testing method According to: YD/T 1181.3-2011 5.3 | |||||||||||
|
2) date, environmental conditions, location
| |||||||||||
|
3) Testing equipment
| |||||||||||
Test result
S/N |
Testing item |
Unit |
Standards and Requirements |
Test result |
Conclusion |
||||||
4 |
Coating non -circularity |
-- |
≤5.0% |
3.6% |
Qualified |
||||||
|
1) Testing method According to: YD/T 1181.3-2011 5.4 | |||||||||||
|
2) date, environmental conditions, location
| |||||||||||
|
3) Testing equipment
| |||||||||||
Test result
S/N |
Testing item |
Unit |
Standards and Requirements |
Test result |
Conclusion |
|||||||||
5 |
Tensile strength |
MPa |
≥1600 |
1646 |
Qualified |
|||||||||
6 |
Tensile modulus of elasticity |
GPa |
≥52 |
66.4 |
Qualified |
|||||||||
|
1) Testing method According to: YD/T 1181.3-2011 5.6 | ||||||||||||||
|
2) date, environmental conditions, location
| ||||||||||||||
|
3) Testing equipmen
| ||||||||||||||
Test result
S/N |
Testing item |
Unit |
Standards and Requirements |
Test result |
Conclusion |
||||||
7 |
Minimum bending performance |
-- |
No cracks or burrs on the surface, no bending, no disassembly, and a smooth feel |
No cracks or burrs on the surface, no bending, no disassembly, and a smooth feel |
Qualified |
||||||
|
1) Testing method According to: YD/T 1181.3-2011 5.5 | |||||||||||
|
2) date, environmental conditions, location
| |||||||||||
|
3) Testing equipment
| |||||||||||
Test result
S/N |
Testing item |
Unit |
Standards and Requirements |
Test result |
Conclusion |
|||||||||
8 |
High temperature bending performance |
-- |
No cracks or burrs on the surface, no bending, no disassembly, and a smooth feel |
No cracks or burrs on the surface, no bending, no disassembly, and a smooth feel |
Qualified |
|||||||||
|
1) Testing method According to: YD/T 1181.3-2011 5.7 2) Sample condition: Bending radius: 15 mm (30 times the nominal outer diameter), number of turns: 3 turns; High temperature treatment conditions: 80℃±2℃, 24h | ||||||||||||||
|
2) date, environmental conditions, location
| ||||||||||||||
|
3) Testing equipment
| ||||||||||||||
Test result
S/N |
Testing item |
Unit |
Standards and Requirements |
Test result |
Conclusion |
|||||||||
9 |
Low temperature bending performance |
-- |
No cracks or burrs on the surface, no bending, nodisassembly, and a smooth feel |
No cracks or burrs on the surface, no bending, no disassembly, and a smooth feel |
Qualified |
|||||||||
|
1) Testing method According to: YD/T 1181.3-2011 5.8 2) Sample condition: Bending radius: 15 mm (30 times the nominal outer diameter), number of turns: 3 turns; Low temperature treatment conditions: -40℃±2℃, 24h | ||||||||||||||
|
2) date, environmental conditions, location
| ||||||||||||||
|
3) Testing equipment
| ||||||||||||||

